Microscope Operation
Now that we have assembled the OpenSPIM microscope it is time to start using it. We will need to prepare a sample, align the light sheet (Calibration), set-up the acquisition and process the data.
But first, what's the magic behind OpenSPIM? For some it might be a good idea to first undertsand some fundamental principles of optics before proceeding.
Sample Preparation
Pulling Drosophila embryos in agarose inside a glass capillary (*with some priceless random audio*)
The basic principles of sample preparation for SPIM differs from traditional microscopy technologies. There are no glass slides or coverslips. Instead, the sample needs to be suspended in a water filled chamber in front of the lens so that it can be rotated. This is usually achieved by embedding the sample in a low melting point (LMP) agarose inside a glass capillary equipped with a plunger. For imaging, the agarose column with the specimen is pushed out of the capillary using the plunger to hang in front of the lens.
For the purpose of making registration easier, we mix the sub-resolution fluorescent beads into the specimen containing agarose slurry and use them as fiduciary markers to align the different SPIM views. The software to do that is available in Fiji.
Follow the link to check our resources for sample preparation.
Calibration
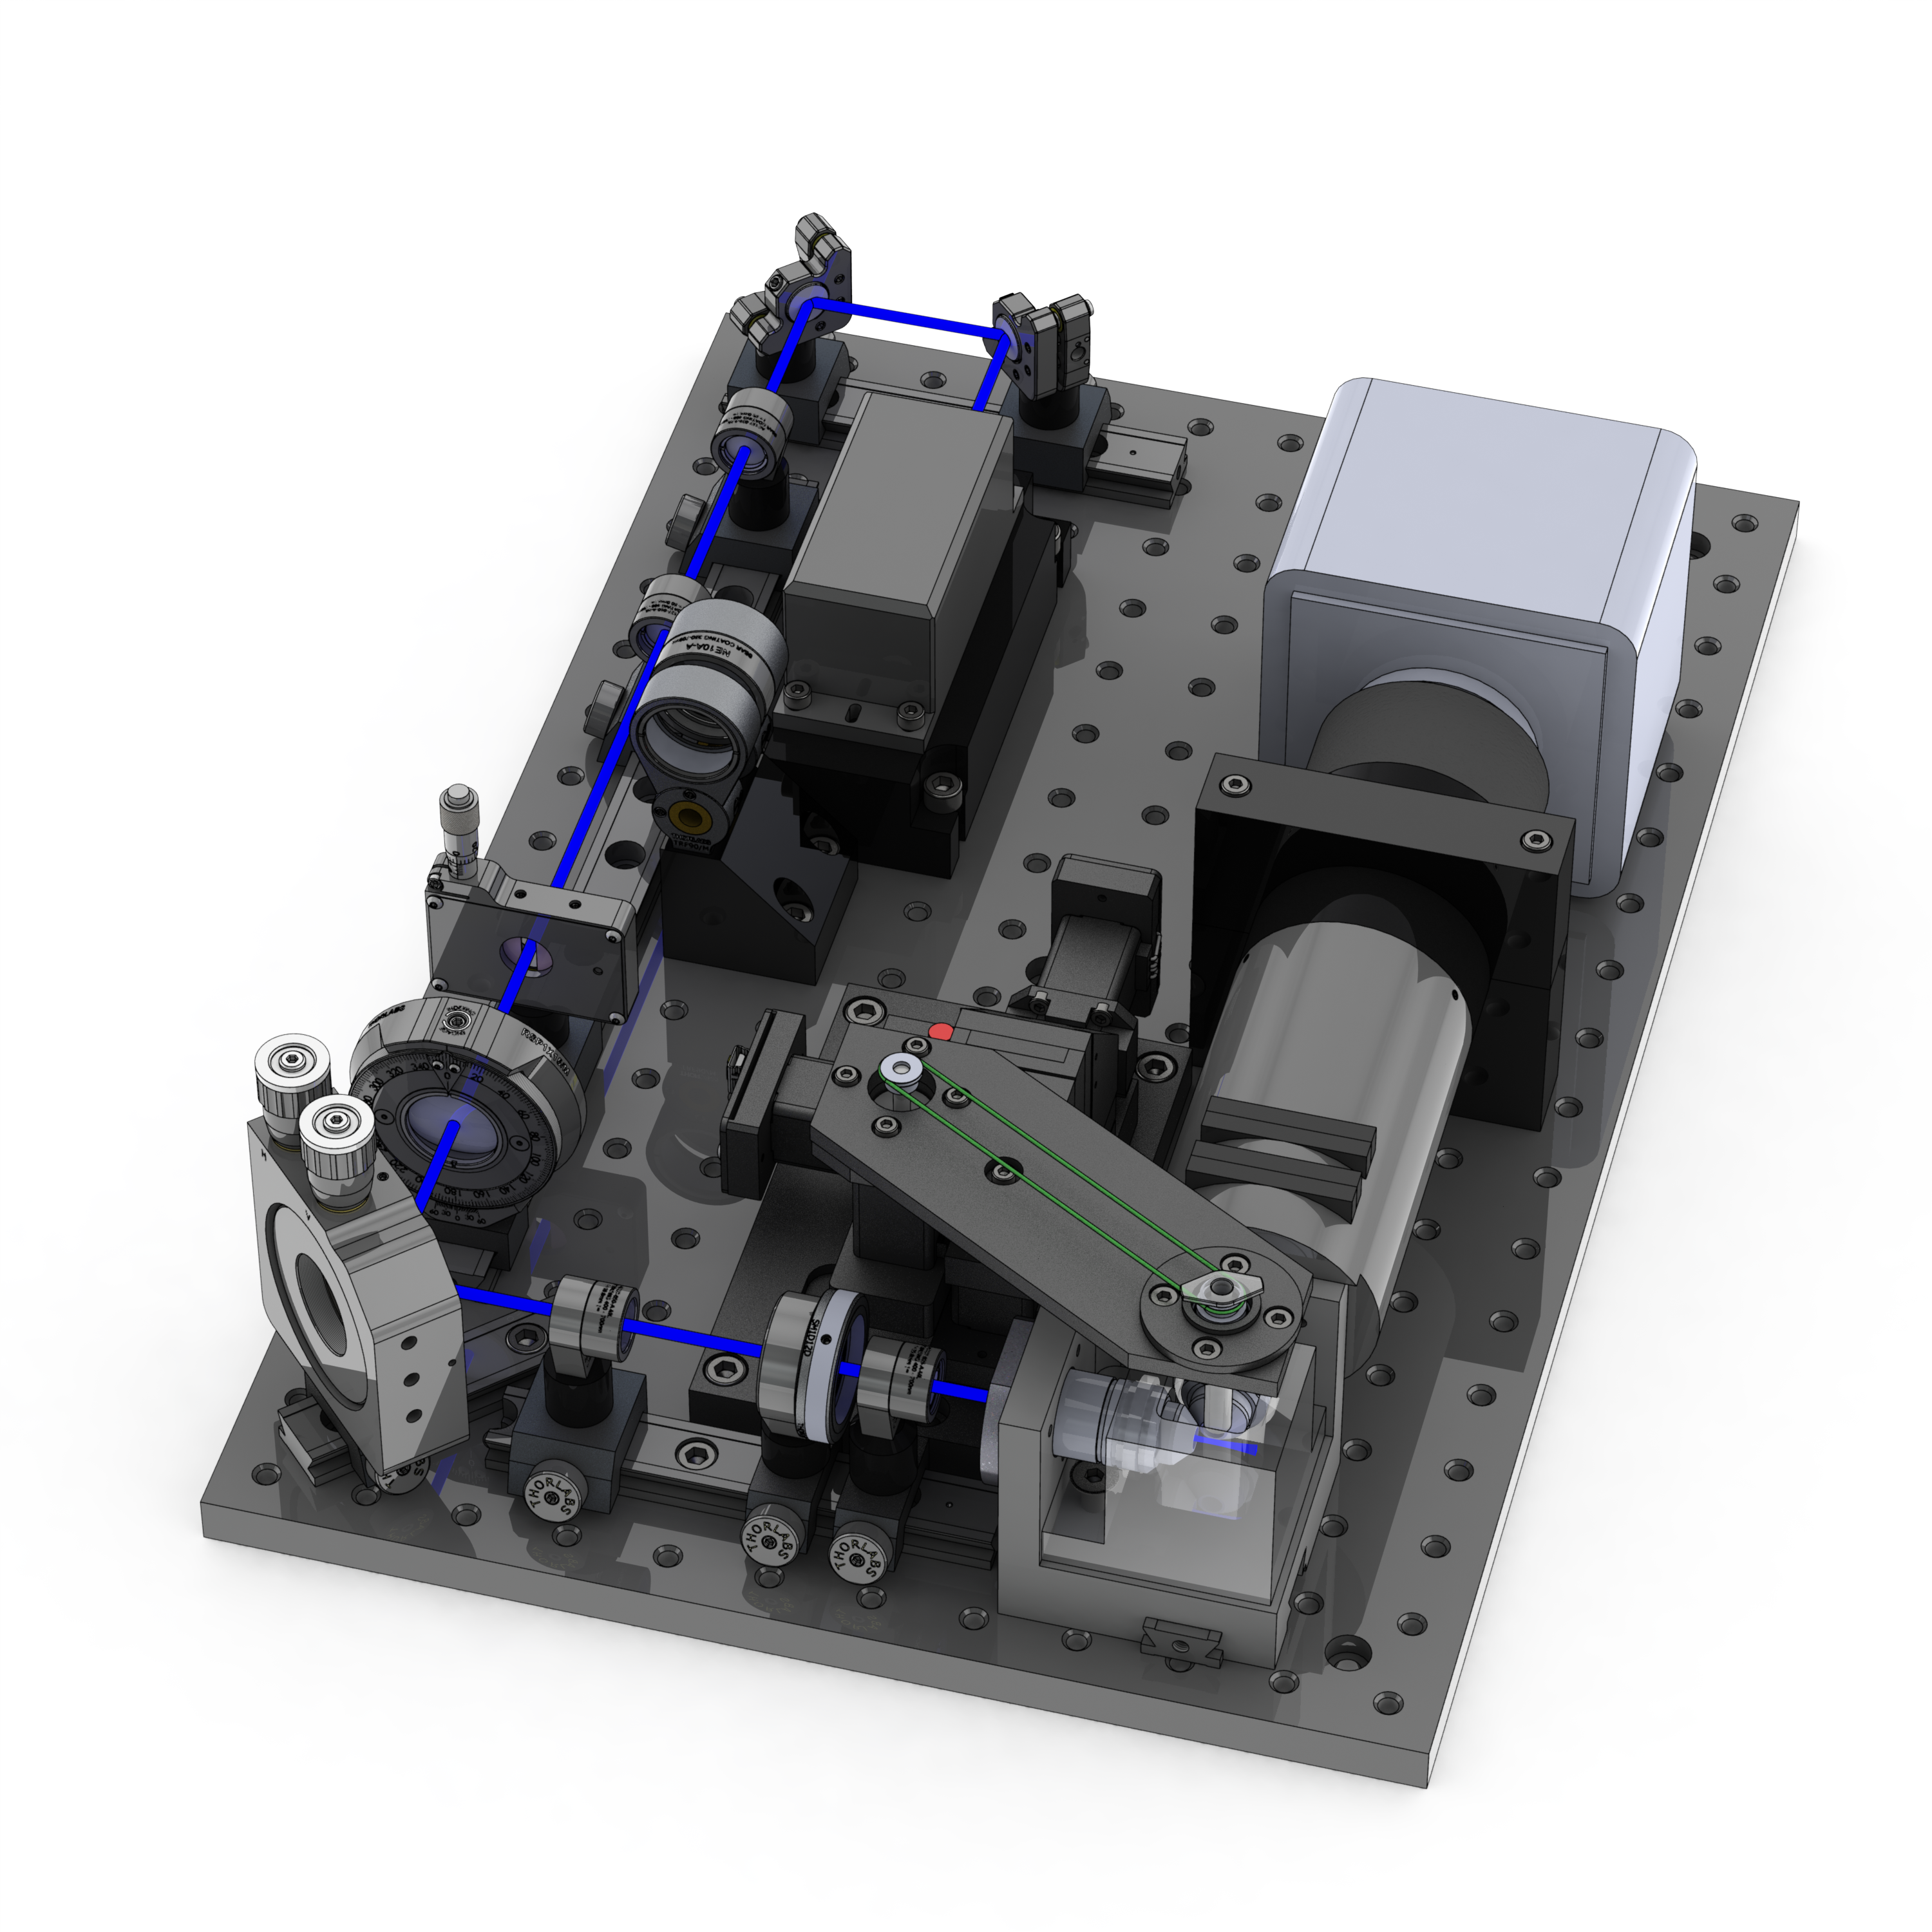
OpenSPIM rendering with laser on
Before using the OpenSPIM the light sheet needs to be aligned. This means that the light sheet needs to be shaped by the optics of the system to be parallel to the imaging plane of the camera, perpendicular to the detection axis, as thin as possible, uniform across the field of view and, most importantly, in focus with the detection objective. Since the procedure is rather involved, we provide a series of detailed videos that illustrate the process. Innovations are welcome.
Although the light sheet is rather stable once aligned, it should be aligned at regular intervals or whenever the image quality or point spread function (PSF) of the beads looks suboptimal.
It is also possible to measure the light-sheet thickness using a small mirror mounted in the sample chamber.
Click here to follow the most recent OpenSPIM alignmetn guide (2021) and here for the original light-sheet calibration site (2013).
Software
A new µManager based OpenSPIM plugin called μOpenSPIM has been developed. We recommend using μOpenSPIM for any current OpenSPIM system that uses µManager. Click here to go to the original OpenSPIM plugin site.
Data processing
The raw multi-view OpenSPIM data need to be processed in order to achieve in toto imaging of large biological sample. We describe here the steps of the SPIMage processing pipeline as implemented in Fiji. The processing involves saving the data in a format accessible by Fiji's SPIM registration plugins, registration of the views using beads as fiduciary markers, fusion of the data from different views into a single output image (potentially by employing multi-view deconvolution), stabilization of the time-lapse data by registration across time-points using the segmented beads, exploration of the raw and fused data in space and time and finally 3D rendering for presentation purposes.
- System requirements for SPIMage processing
- Download sample data from Dresden's OpenSPIM.
- Pre-processing of OpenSPIM ome.tiff stacks for multi-view reconstruction.
- Registration of multi-view OpenSPIM acquisition using bead based registration plugin in Fiji.
- Fusion of registered multi-view OpenSPIM data into s a single output image using content based fusion or multi-view deconvolution.
- Time lapse registration of long-term time lapse data.
- Browsing of OpenSPIM data with Fiji's BigDataViewer.
- 3D rendering of fused OpenSPIM data (TBD).
If you have a cluster available, you could imitate the way the Tomancak group executes SPIM Registration on their cluster.